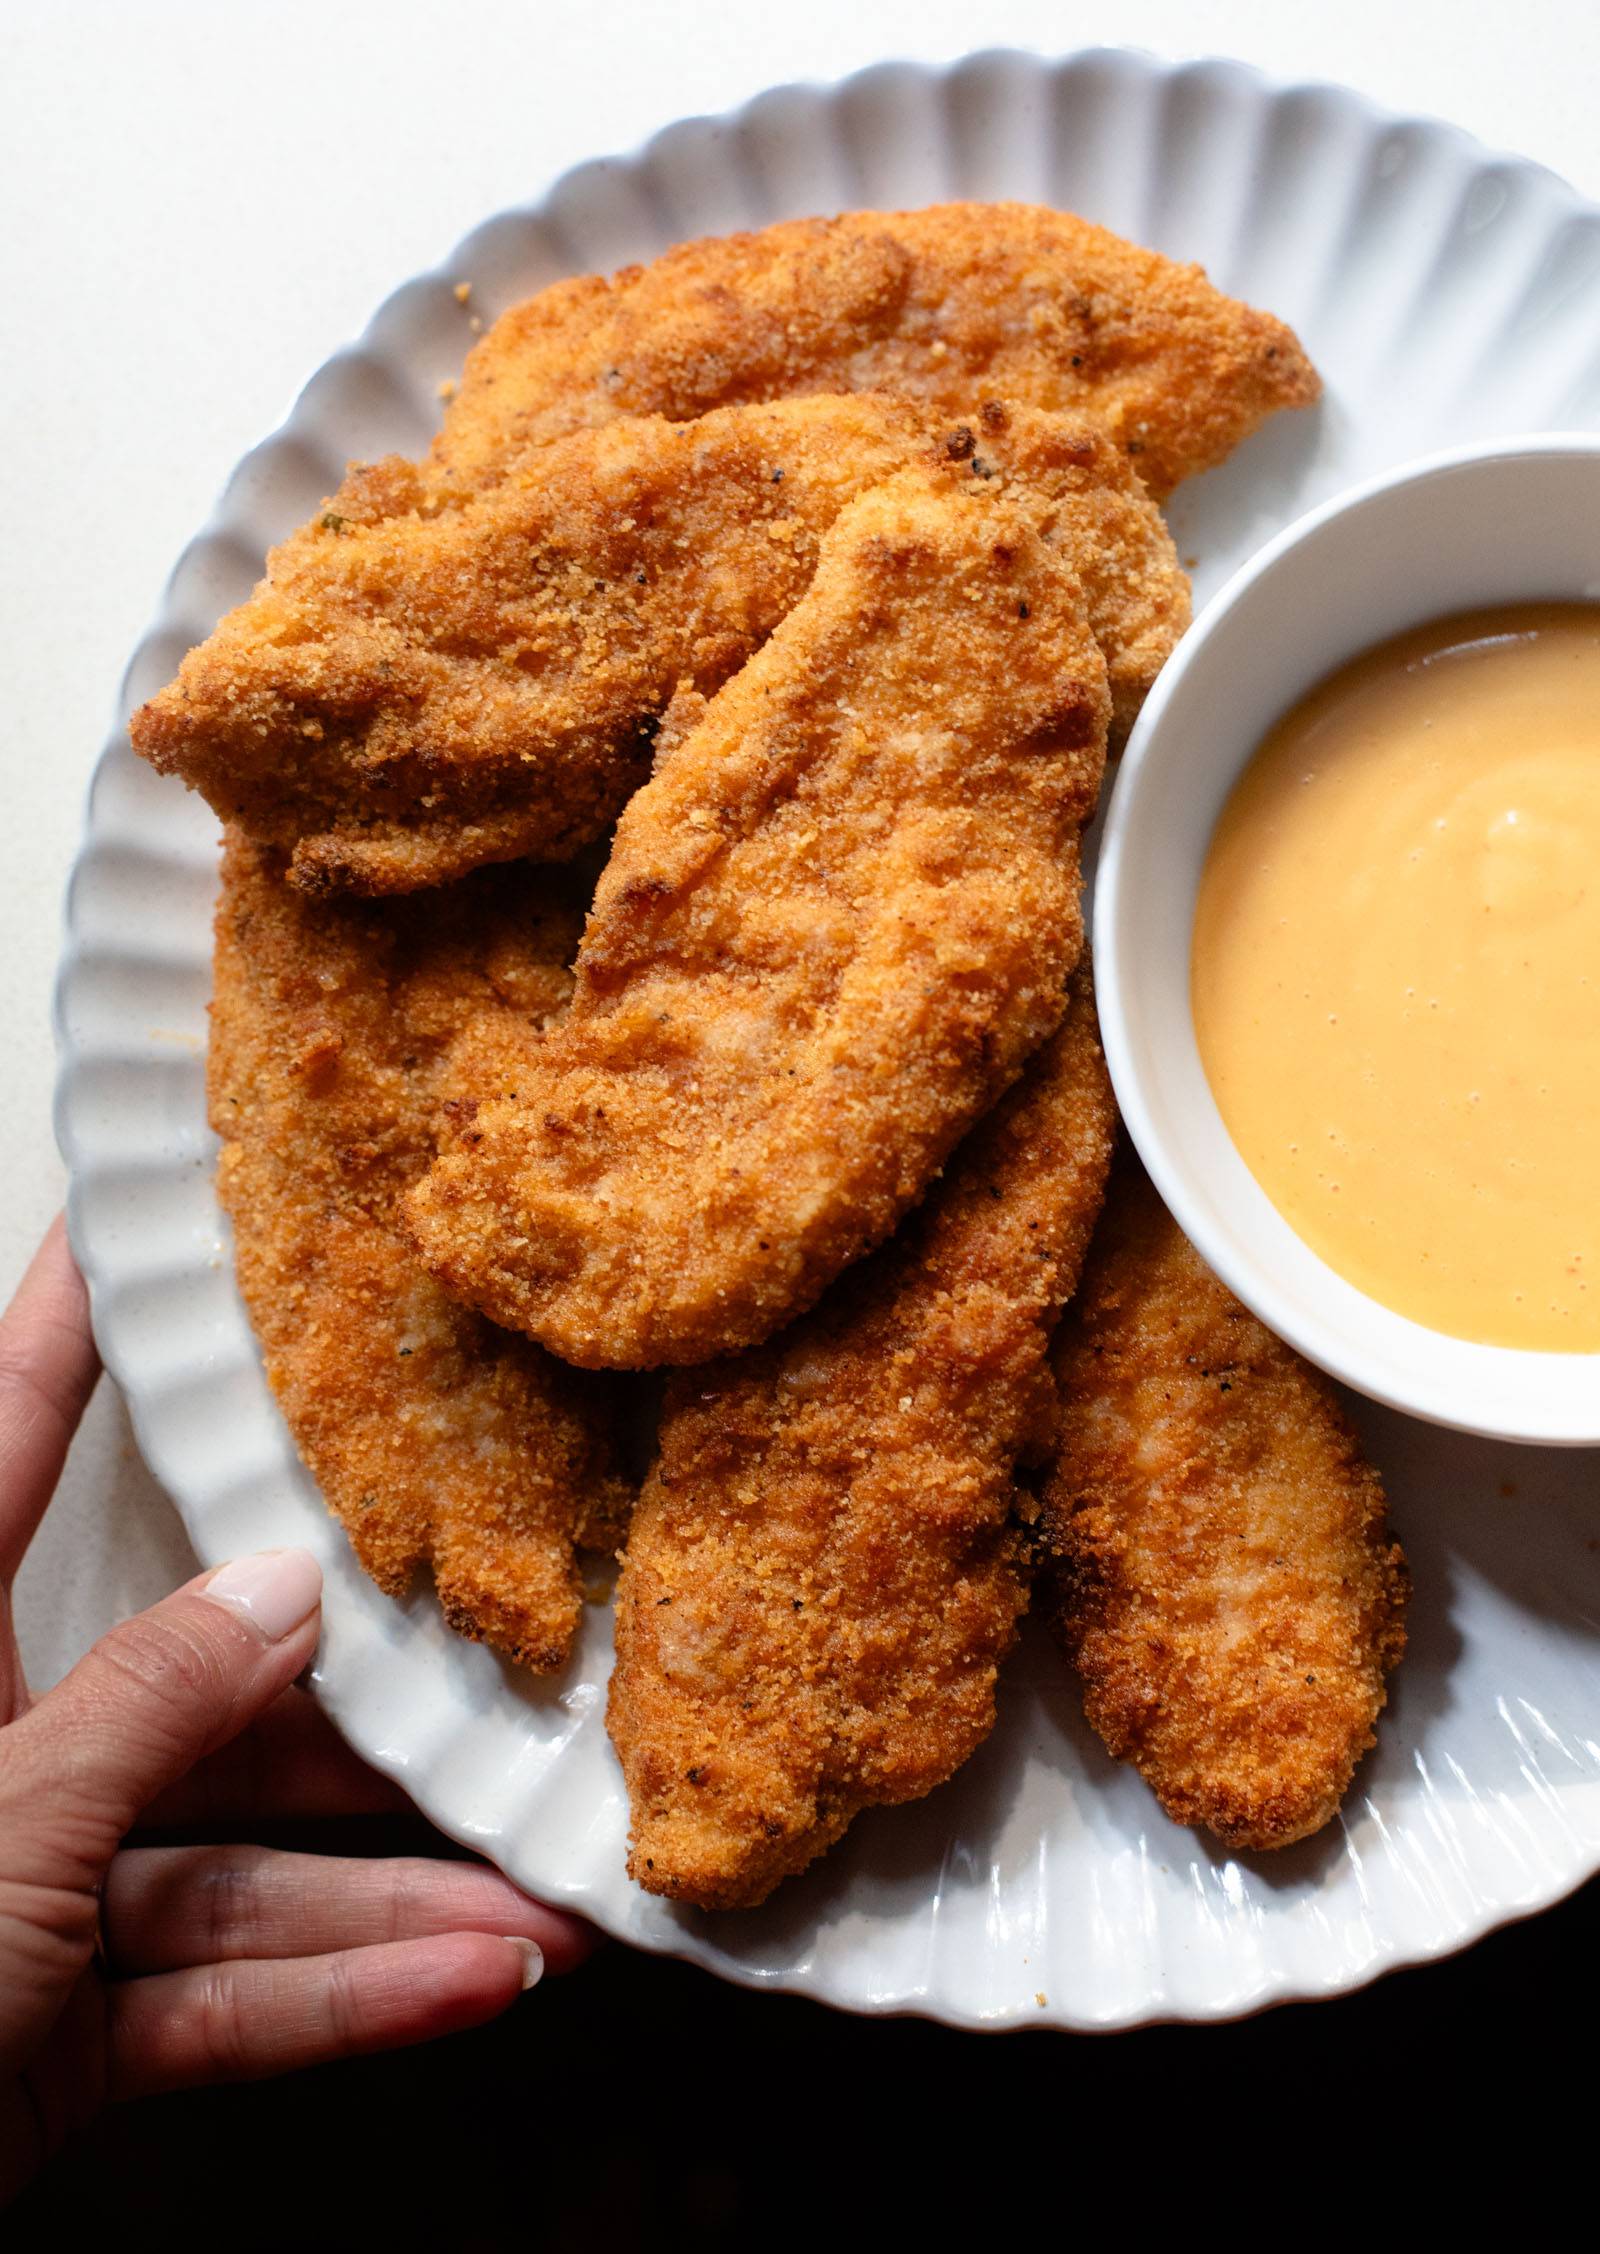
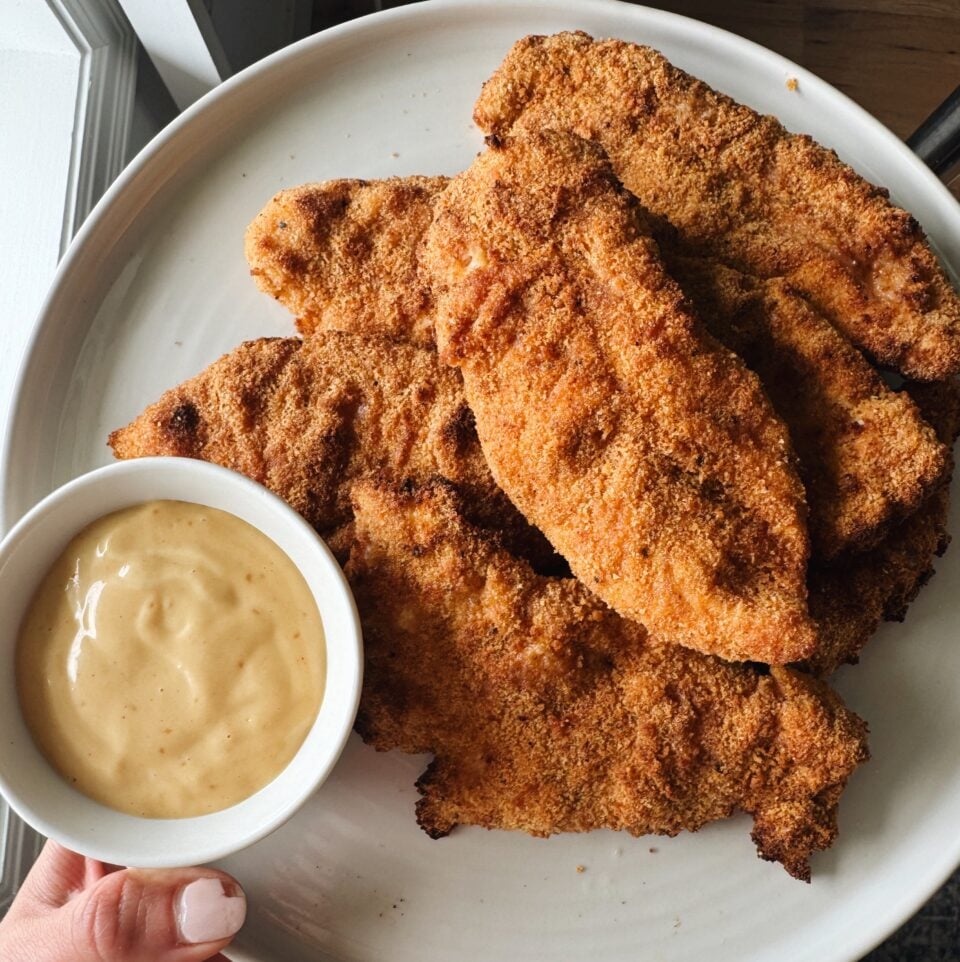
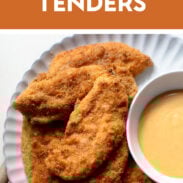
These chicken tenders made in the air fryer are a favorite in our house! Golden, hot, and crispy with your favorite sauce on the side!
Yummy Air Fryer Chicken Tenders
Whoa. We Love These.

Everybody in my house is 5 stars for these air fryer chicken tenders. We just all genuinely love them.
Chicken tendies for dinner is really an awesome meal formula:
- a platter of hot, crispy, perfectly breaded chicken tenders
- everybody picks their favorite sauce
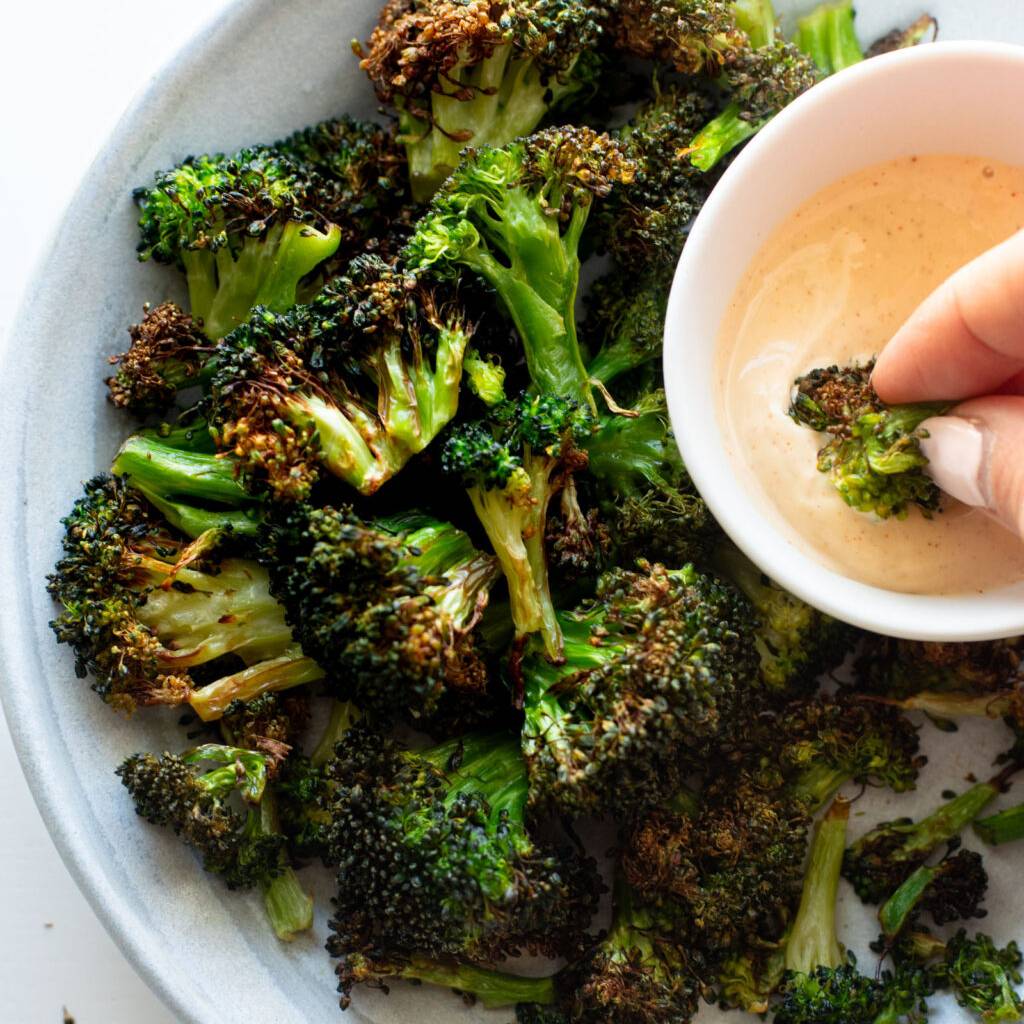
- whatever random veggies are hanging out in the fridge (a fun salad, frozen mixed veg, or even just a plate of raw veggies, which we often do!)
Favorite sauces for your consideration: honey mustard, gochujang sauce (highly recommend), yum yum sauce, or just the standard storeboughts – ranch, ketchup, etc. My husband has been doing ranch mixed with hot sauce lately and he is onto something. It’s so good.
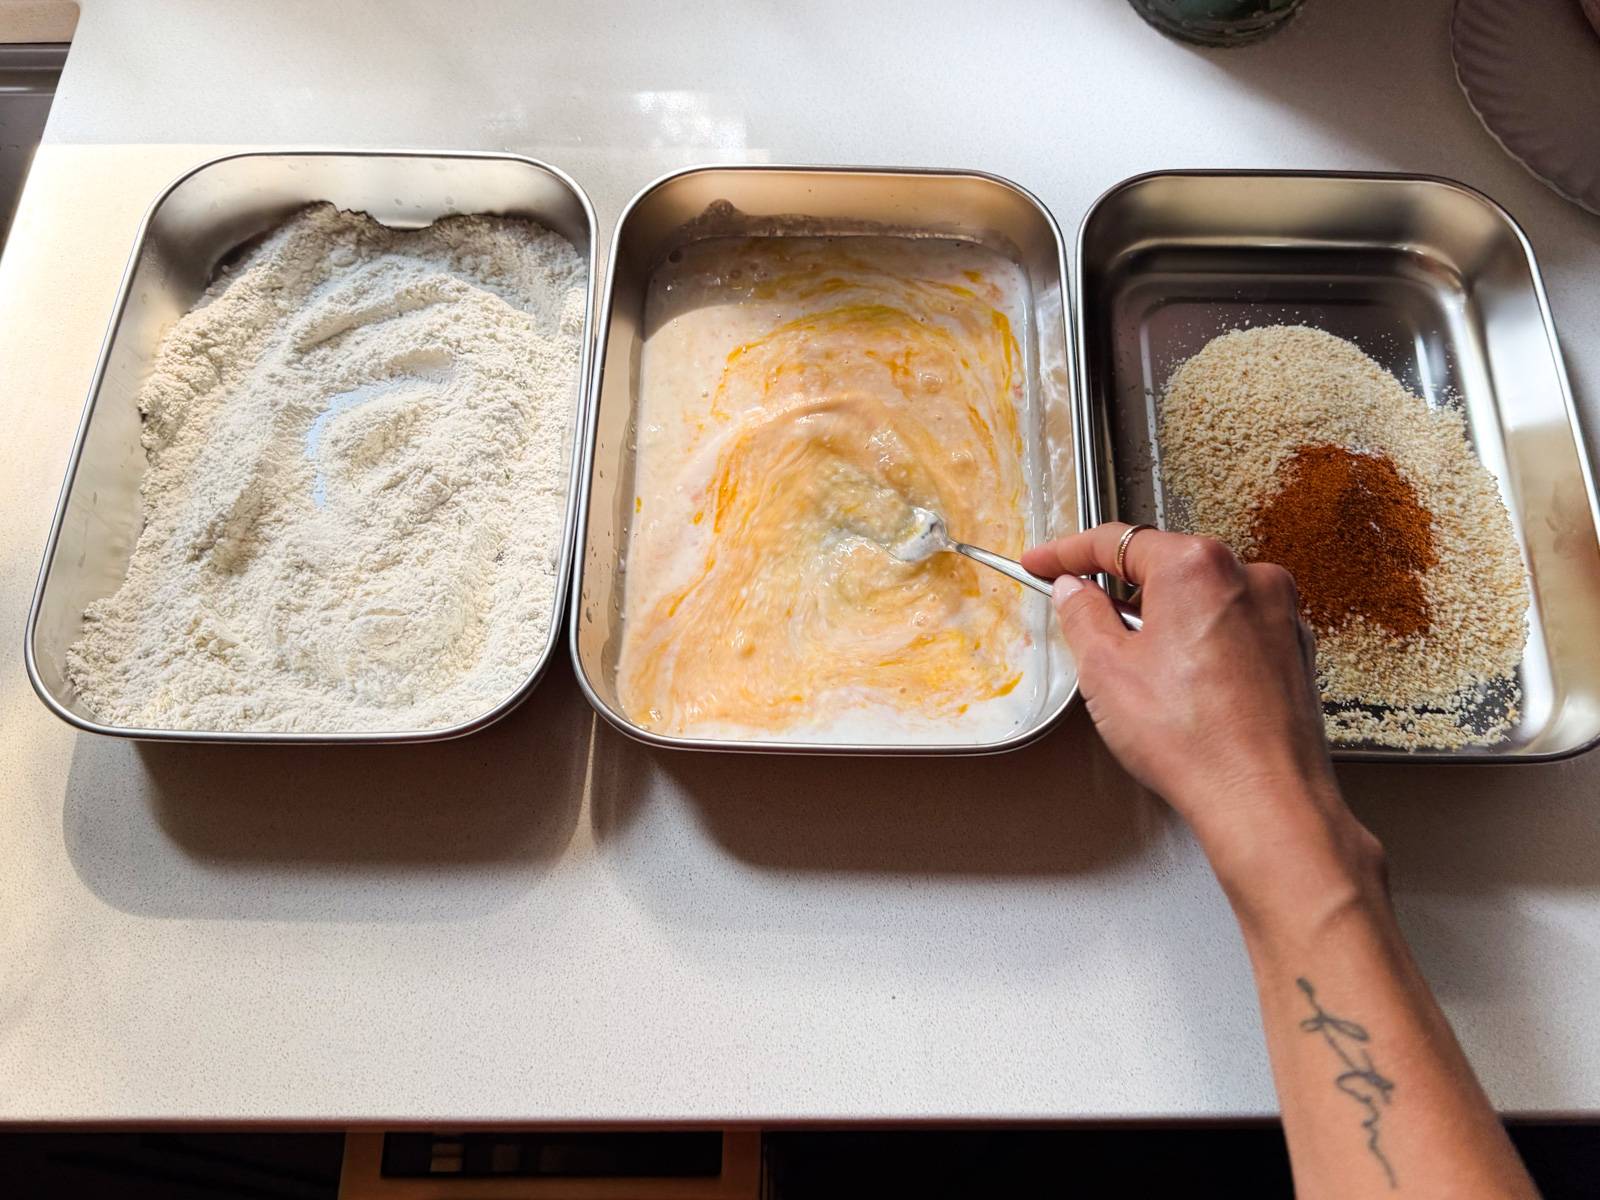
I’m not the type of person to get excited to do the whole dredge and dip routine, but I recently got these pans and they are GOLD for this. I have the large size. Plus, I use them to store the breaded chicken before baking, or the leftover chicken, if we have any. They’re just a NICE quality product. They make me feel like I have my life together.
And speaking of leftovers, I have really enjoyed these 1-2 days after the fact with a quick reheat in the air fryer. Crisped and golden all over again.
Hope you love these (I mean, it’s hard not to). 🙂

My Favorite Air Fryer
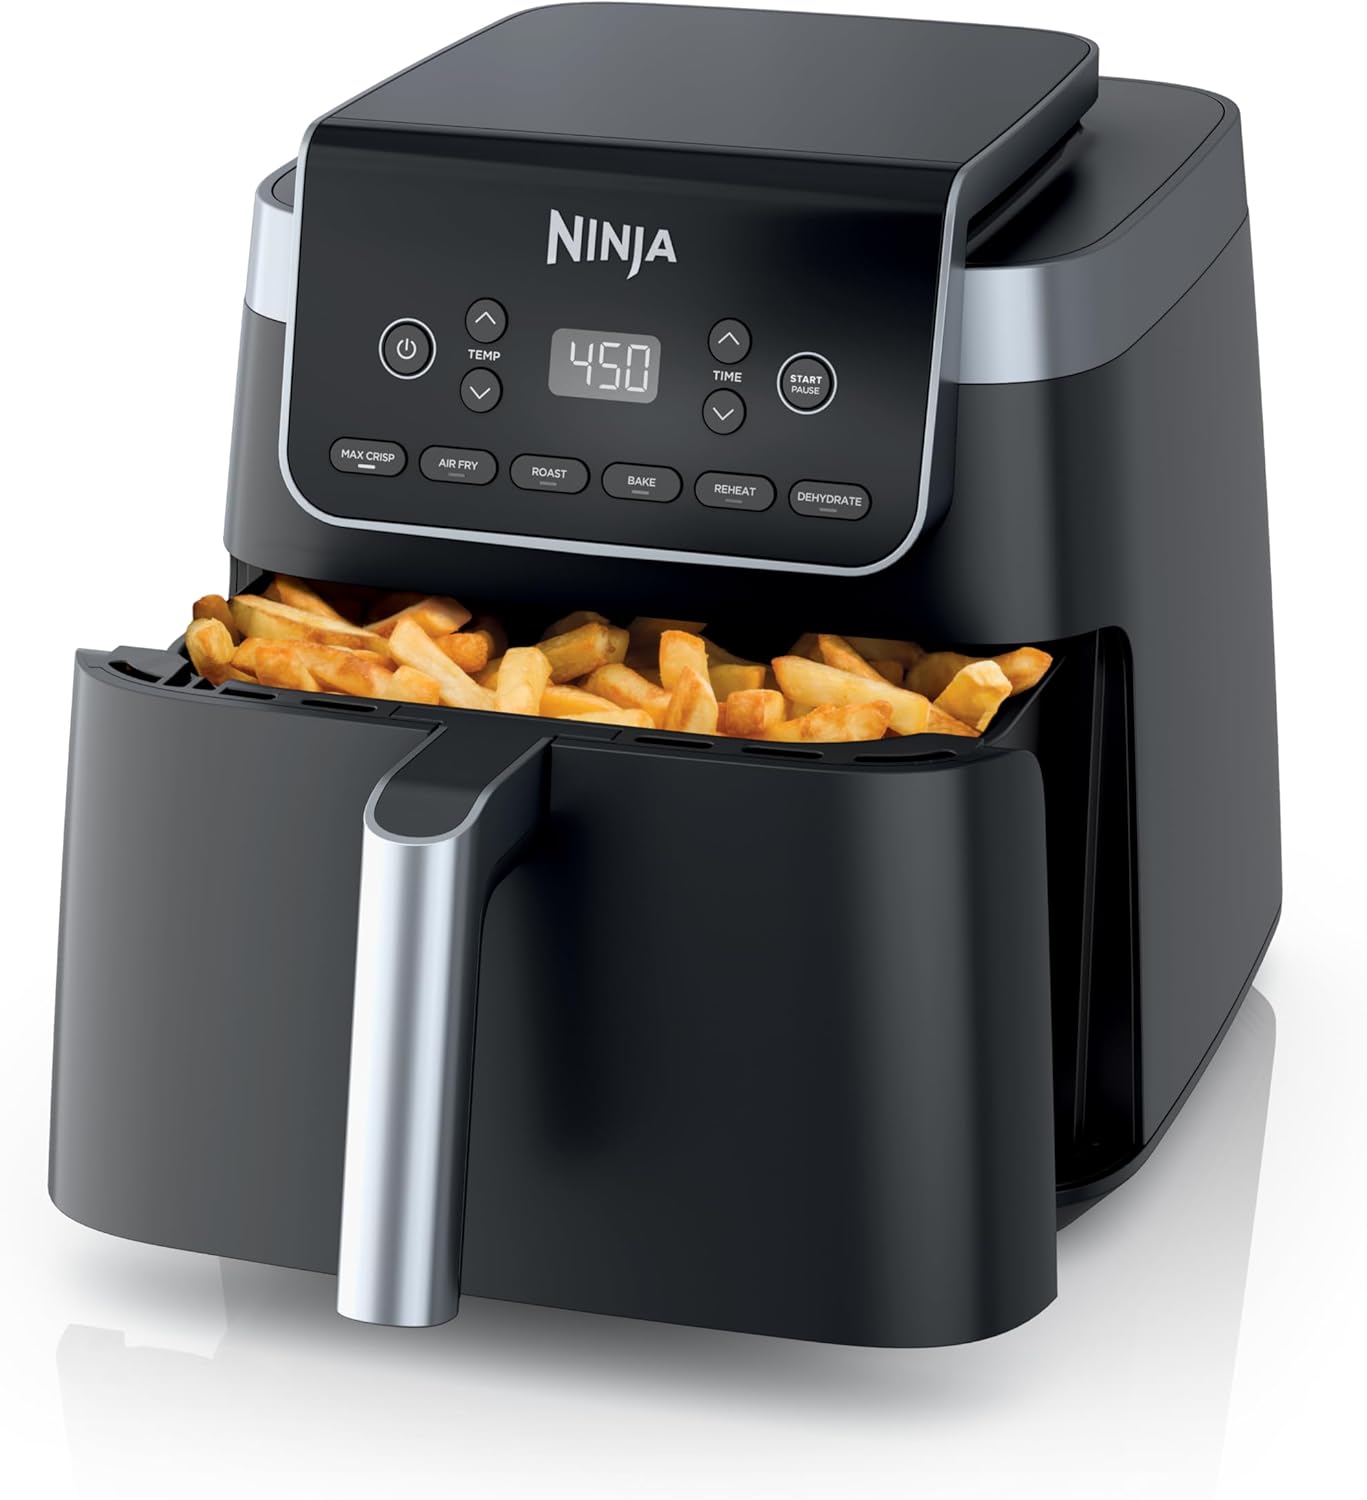 Buy Now →
 The section contains affiliate links to products we know and love.

Air Fryer Chicken Tenders
- Total Time: 25 minutes
- Yield: 6 servings (2-3 tenders per person) 1x
Description
These chicken tenders made in the air fryer are a favorite in our house! Golden, hot, and crispy with your favorite sauce on the side!
Ingredients
Units
Scale
- 1.5 – 2 lbs. chicken tenderloins (about 12-16 pieces)
- 3/4 cup all-purpose flour
- 1/2 teaspoon kosher salt
- one 1–ounce packet ranch seasoning (optional, see notes)
- 1 egg
- 1–2 teaspoons hot sauce (optional)
- 3/4 cup milk + 1 1/2 teaspoons vinegar
- 2 1/2 cups plain breadcrumbs
- 2 1/2 tablespoons seasoning mix (I use the McCormick rotisserie chicken seasoning)
- avocado oil spray
Instructions
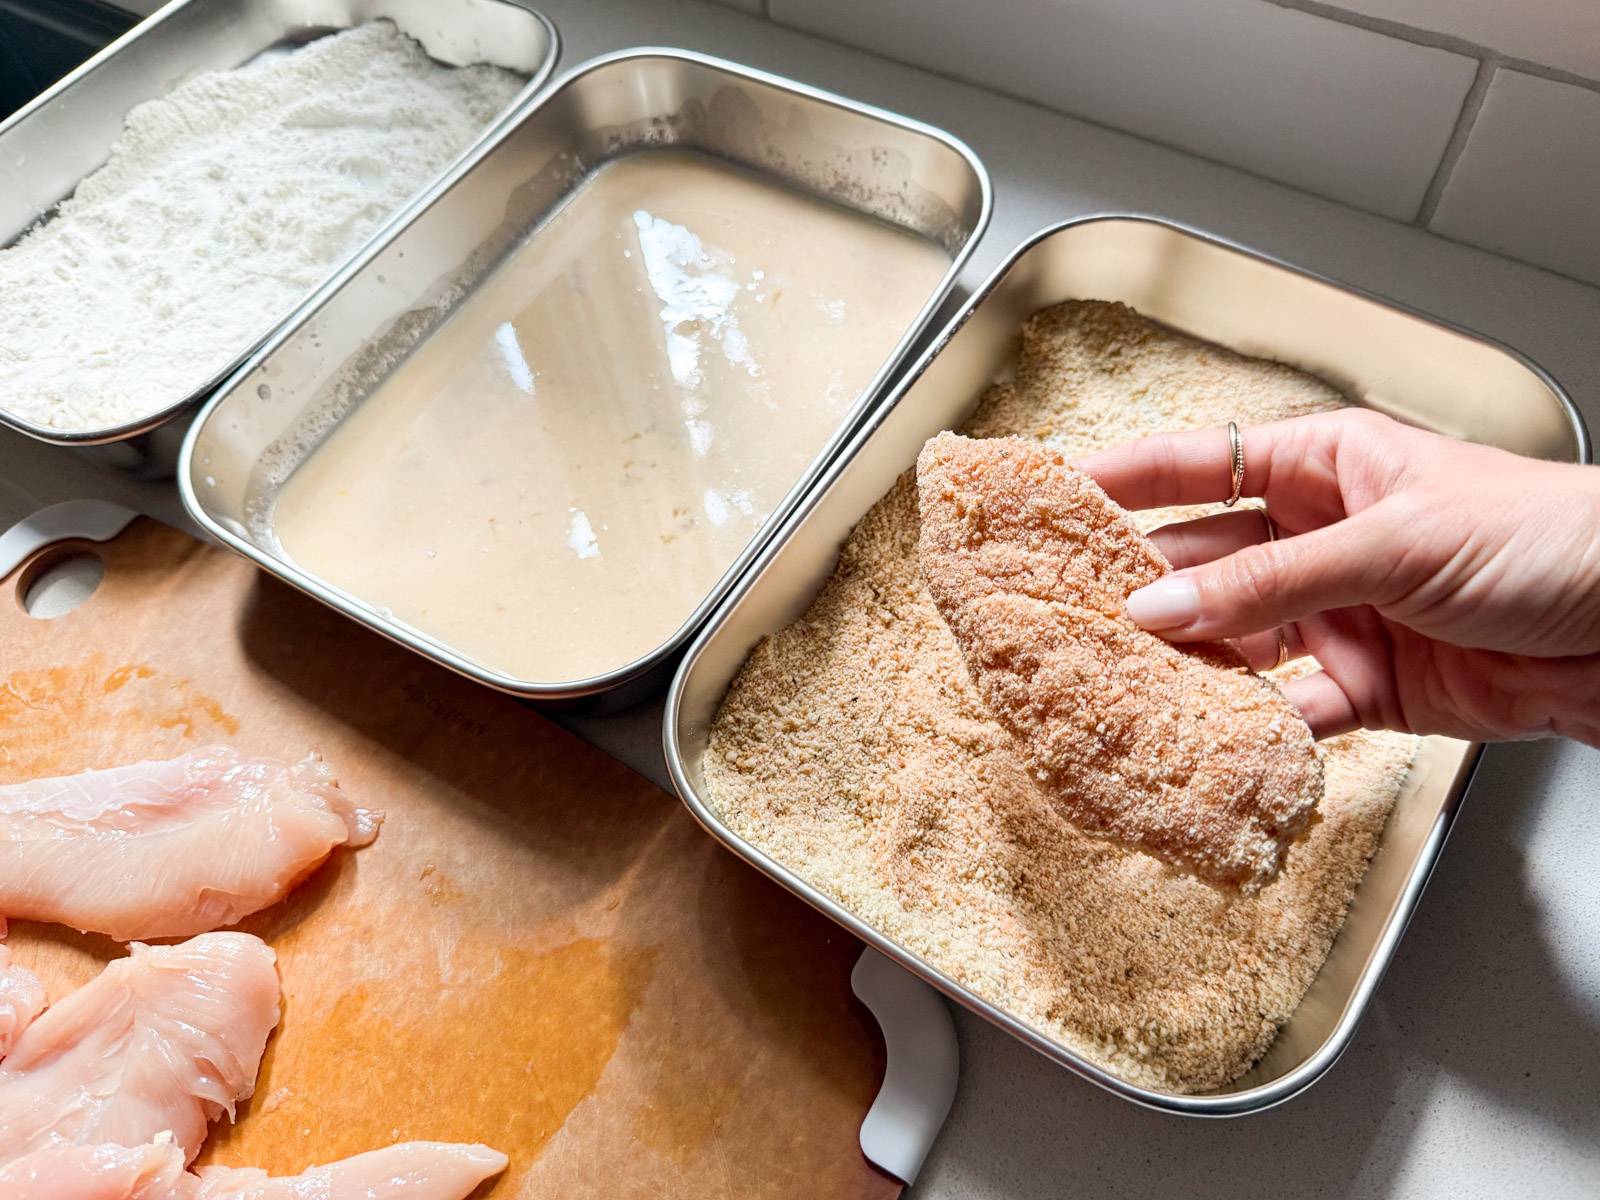
- Prep your dipping stations! 1: Combine the flour, salt, and ranch seasoning. 2: Let the milk and vinegar sit together for 5 minutes (you’re making a “buttermilk”). Add it to the eggs and hot sauce; whisk to combine. 3: Stir the breadcrumbs with the seasoning mix.
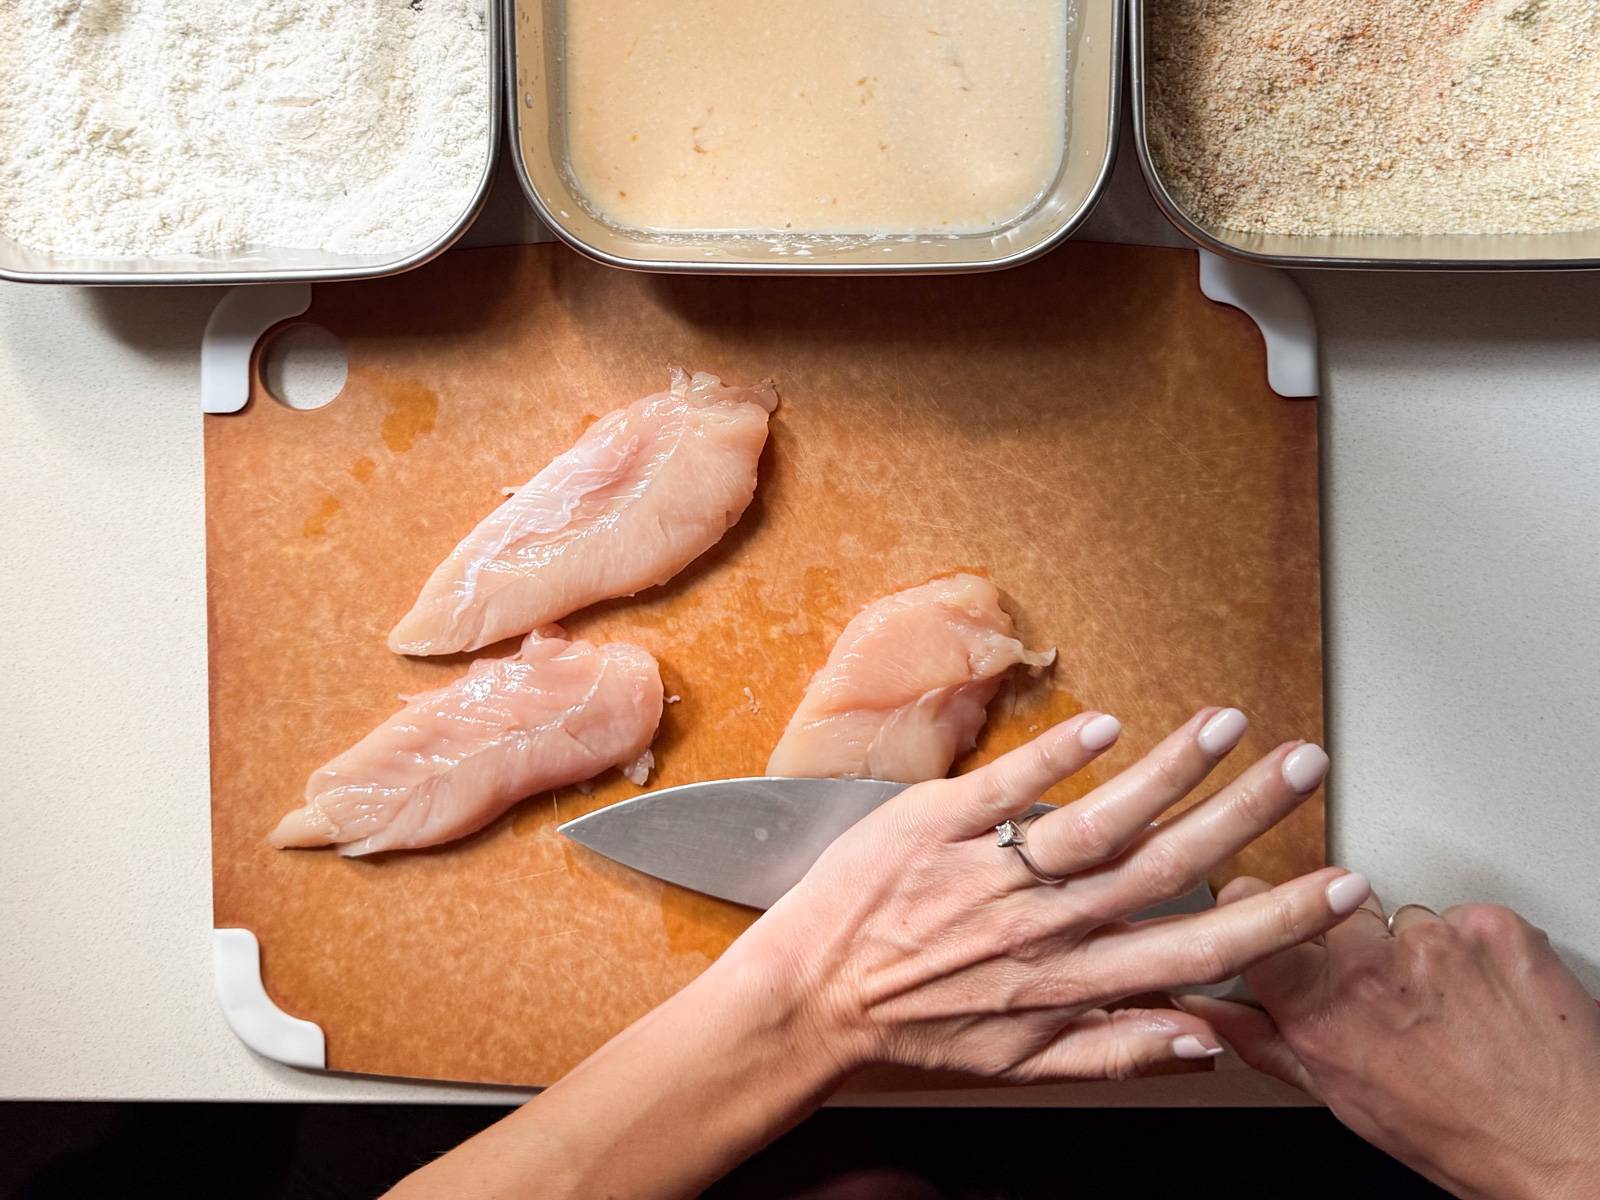
- Flatten Chicken Tenderloins. Smash each of the chicken tenderloins a few times on a cutting board using the flat side of a knife (see video). You want them to be slightly flattened or fanned out.
- Batter Up! Dip each chicken tenderloin in flour; shake off excess. Dip in the buttermilk mixture; let excess drip off. Then coat in the breadcrumbs, flipping and gently pressing a few times until the whole surface is covered. Set aside and repeat with all the chicken tenderloins.
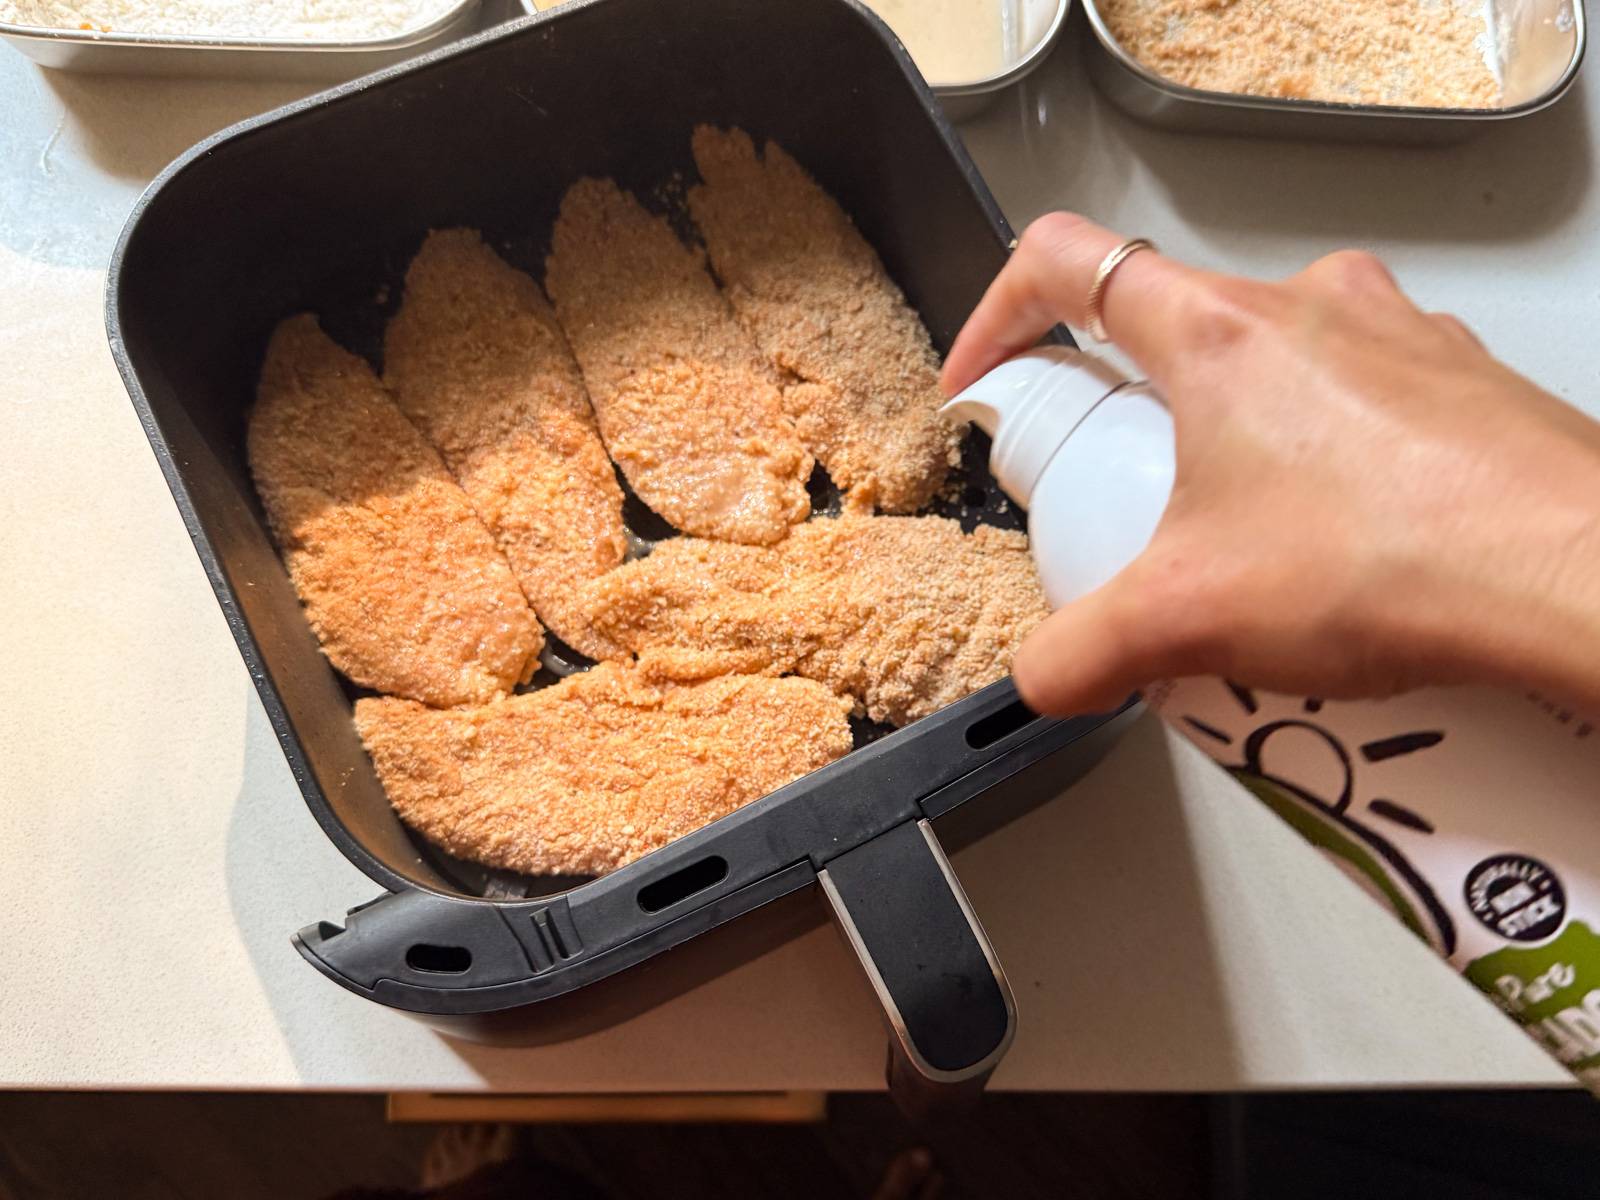
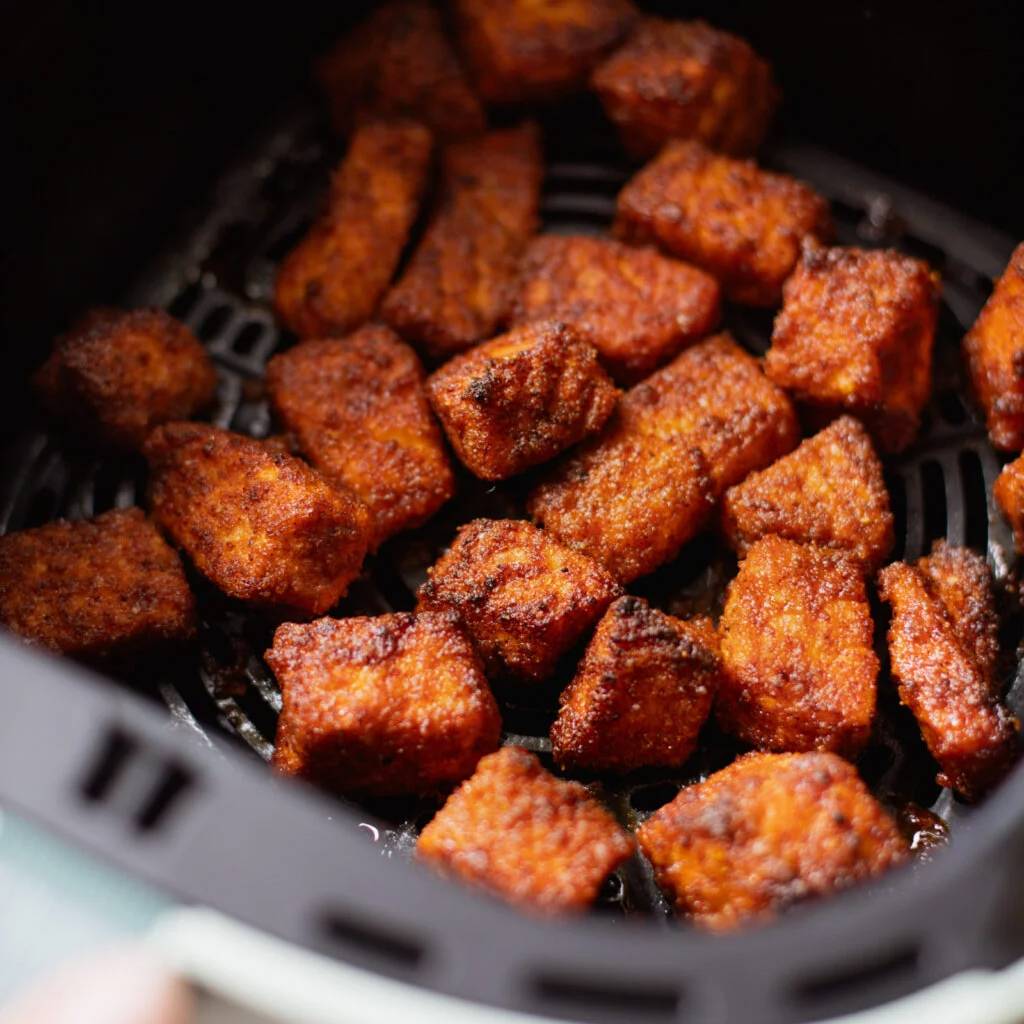
- Place in Air Fryer. Place as many as you can fit into the air fryer, keeping them in one flat layer (mine can usually get 6 in at a time). Spray generously with avocado oil spray until the surface is lightly and evenly moistened with oil – this helps them get that evenly golden brown, fried look.
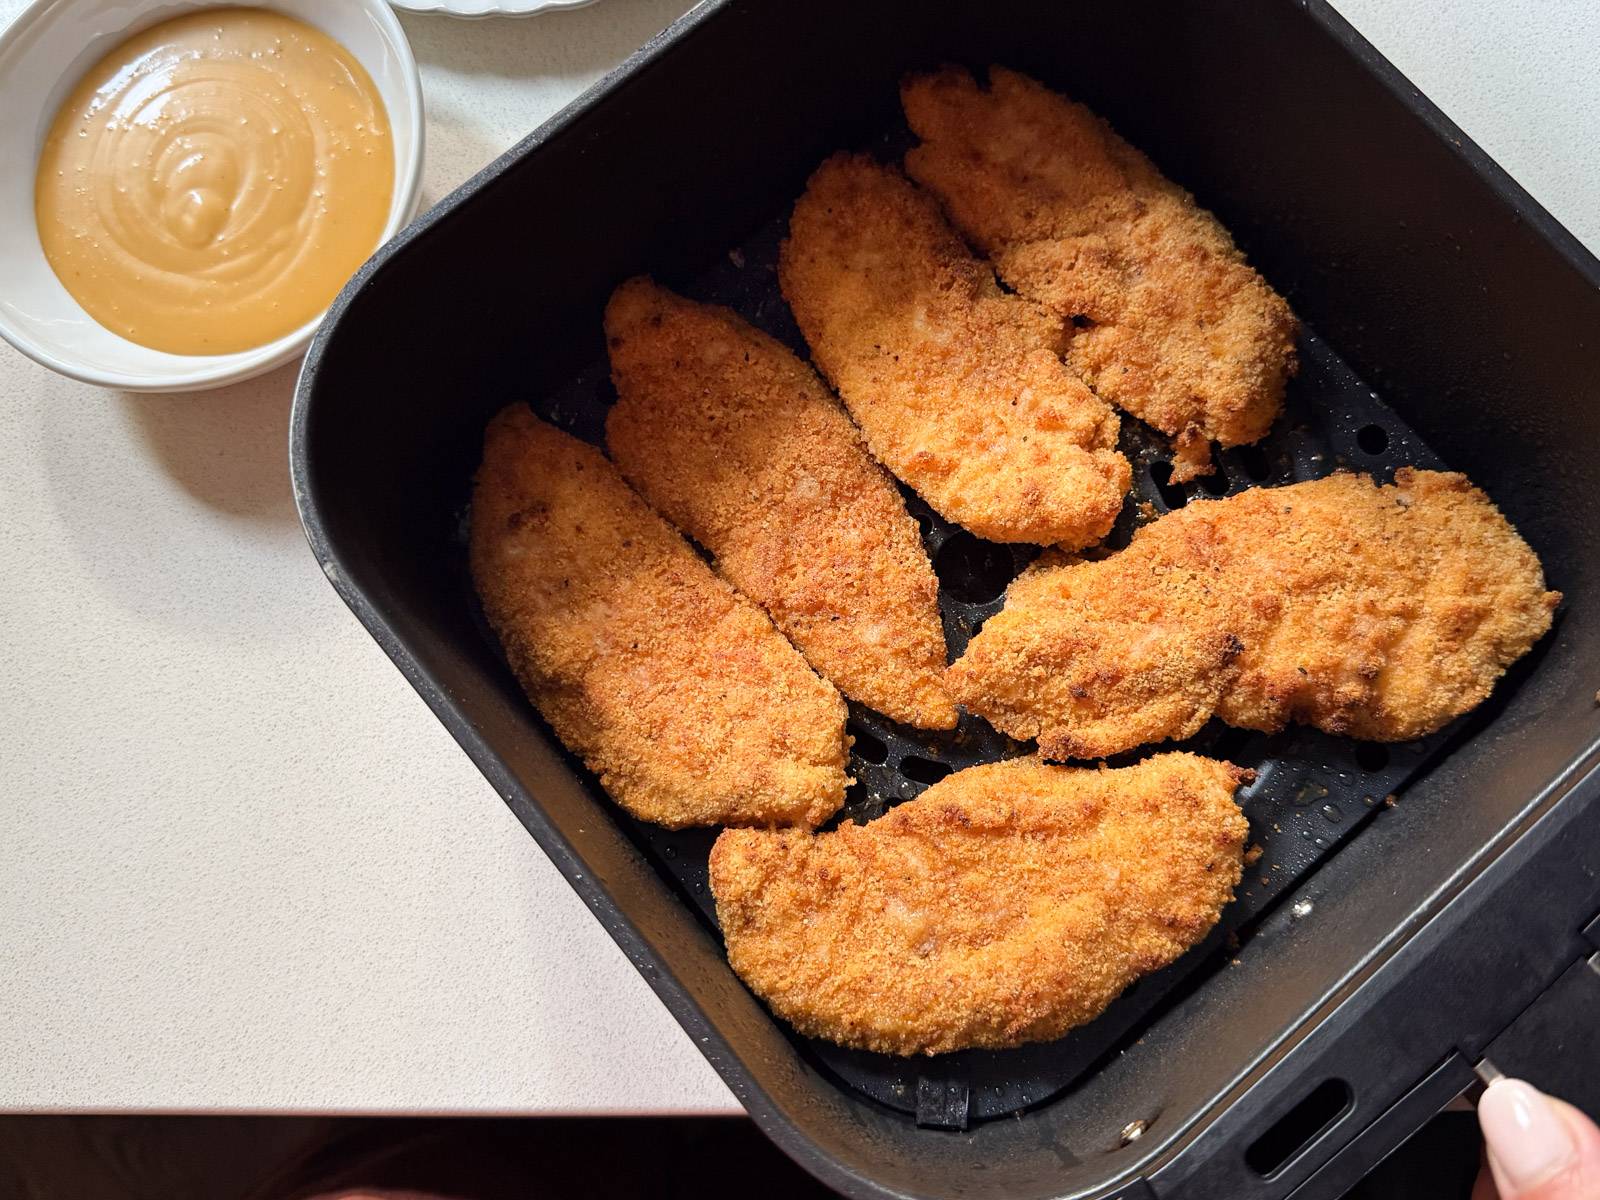
- Cook and Serve: Air fry at 400 degrees for 7-9 minutes. You want them to be golden brown on the outside, and 165-175 degrees on the inside. Serve with your favorite sauce! SO yummy!
Equipment
Buy Now →  Buy Now →
 The equipment section may contain affiliate links to products we know and love.
Notes
Oven Directions: We tested these in the oven and it works great; 10 minutes at 400 degrees and broil for a minute or two if you’d like a little more browning. Baking them on a wire rack will help prevent sticking and get air flow all around. When not using a rack, only coat the top side of each tender with the oil spray so the bottom doesn’t get soggy.
Seasonings: If you don’t have the seasoning mixes or don’t want to use them, just add 1 1/2 teaspoons salt and a bit of freshly ground pepper into each of the flour and breadcrumb mixtures and it’ll taste great. But I LOVE max flavor, and I feel like using both the ranch seasoning and the rotisserie chicken seasoning was such a good flavor move, so that’s my preferred way to do it!
Hot Sauce: This is optional; it’s just there for flavor and a bit of zing, but it won’t taste spicy! Promise. My kids wouldn’t let me publish this if the chicken tenders were spicy. 😉
Breadcrumbs: I have used all types of breadcrumbs, but I really like Trader Joe’s breadcrumbs best! They are a bit chunkier than standard plain breadcrumbs, but still finer than panko. In the photos here I was actually using half Trader Joe’s and half Progresso plain breadcrumbs because I ran out of my TJ’s ones – the mixed texture worked great!
- Prep Time: 15 minutes
- Cook Time: 10 minutes
- Category: Dinner
- Method: Air Fryer
- Cuisine: American
Keywords: air fryer chicken tenders, chicken tenders recipe, homemade chicken tenders, air fryer recipe
More Really Good Air Fryer Recipes

June 24, 2025


Nice to meet you!
I’m Lindsay and I ♡ FOOD. I used to be a teacher, and now making food and writing about it online is my full-time job. I love talking with people about food, and I'm so glad you're here.
Did you make a recipe? Tag @pinchofyum on Instagram so we can find you!

Sorry to be that person, but do you think these would work even half as well in the oven? I don’t have an air fryer. Thanks!
Yes! We just tested them in the oven and it works great; 10 minutes at 400 degrees and broil for a minute or two if you’d like a little more browning. We only coated the top side of each tender with the oil spray so that the bottom didn’t get soggy.
Not everyone has an air fryer. Please give oven instructions also.
Yes! We just tested them in the oven and it works great; 10 minutes at 400 degrees and broil for a minute or two if you’d like a little more browning. Baking them on a wire rack will help to prevent sticking and get air flow all around. When not using a rack, only coat the top side of each tender with the oil spray so the bottom doesn’t get soggy.
These look yum! And your Afton tat, I haven’t seen it in a while. LOVE, LOVE, LOVE that baby angel. ❤️
Thanks for the recipe. Do you recommend with chicken breast or thighs?
Hi! You’ll find chicken tenderloins cut for you, right next to the chicken breasts. We don’t recommend thighs for this recipe.
What do u find is the best way to get the grisly part out of the tenderloin?
Hi! We actually did both, removing them and leaving them, and once the chicken is lightly pounded and cooked, we never noticed the little tendon while eating. If you want to remove the tendon, you can use a paper towel to grip the chicken and just start to pull on an end of it and follow it down the chicken and it will come right off.
These look delicious! Any recommendations for what I could use instead of eggs? My son is allergic.
Hi! We haven’t tested this yet, but doing some research it sounds as though a good egg substitute for this application would be buttermilk or yogurt:
The acidity in buttermilk or yogurt tenderizes the chicken and helps the breading stick.
If using yogurt, thin it out with a little milk or water to achieve a good consistency. Or mayonnaise: A thin layer of mayonnaise can be used as a binder for the breading.
These were SO good! Very tasty & delicious! My whole family loved them and that never happens. These will definitely go on our regular dinner rotation. Thank you!
Yum! Any suggestions for dubbing out the egg? We have an egg allergy.
Hi! We haven’t tested this yet, but doing some research it sounds as though a good egg substitute for this application would be buttermilk or yogurt:
The acidity in buttermilk or yogurt tenderizes the chicken and helps the breading stick.
If using yogurt, thin it out with a little milk or water to achieve a good consistency. Or mayonnaise: A thin layer of mayonnaise can be used as a binder for the breading.
Delish! Do you have a favorite hot sauce? Thanks!
I just tried these and they were super easy. Also super yummy cos dips are already seasoned. I kept a big chunk for leftovers for salads sandwiches etc. They lose their crispiness when it cools. Would you recommend undercooking them a little and then reheating them with the airfryer, if I intend to keep leftovers?
Hi! We have really enjoyed these 1-2 days after making with a quick reheat in the air fryer. Crisped and golden all over again. We would not undercook.
Yummy indeed. Thank you for always saving my evenings 🙂
Was excited to try these, but they didn’t wow our family.
Sorry to hear that, Sarah! Thanks for trying the recipe.
We loved the breading on these and they came out nice and crispy, but the chicken was a bit dry. Curious if you’ve tried marinating in the buttermilk mixture as I’m wondering if that might help with the moisture/tenderness.
Hi Kelly! It sounds like your air fryer might run a little high. Cut it down by a minute or two next time you make and that should get you to the tenderness you’re looking for.
I bought 2lbs of chicken tenders to make these for me, my husband & our 2 kids. I thought we’d have half of them for leftovers. Nope, only 2 tenders are left, haha! Everyone loved them, which is rare in this house. We’ll definitely be making these again and again!
Love to hear it was a family win!
Absolutely devoured by everyone in the house. Definitely in the rotation going forward.
Awesome! Thanks for making the recipe.
I have tried so many different crispy chicken tender recipes in the air fryer and none of them ever come out quite crispy enough, and if they do that usually means the chicken is super dry. These were perfection!!! So delicious, and I couldn’t believe how crispy they were on the outside and juicy on the inside. I followed the recipe to a T aside from using oat milk in place of regular milk and they came out great. This certainly be another POY recipe to add to my rotation! Thank you for creating and sharing such delicious and user friendly recipes 🙂
Yay, love hearing your results! Thanks for making the recipe.
To make things even quicker,and eliminate the step of pounding the tenders flat, could I just use thinly sliced chicken cutlets and cut them each in half?
That should work!
I made these today for my non chicken liking beef eating Montana cowboy. They were a total hit! I don’t usually buy jars of spices I may or may not use again but that rotisserie chicken seasoning was a great addition. Thanks for another great recipe! I didn’t make any of your sauces but that’s next on the list!
Yes, we love that seasoning too! Glad this was a winner for you.